How To Stretch Canvas Painting - Stretching a canvas for painting can seem like a daunting task, but with a little practice and know-how, it can be easy and rewarding. In this article, we will show you step-by-step how to stretch a canvas for painting using various techniques.
Preparing the Materials
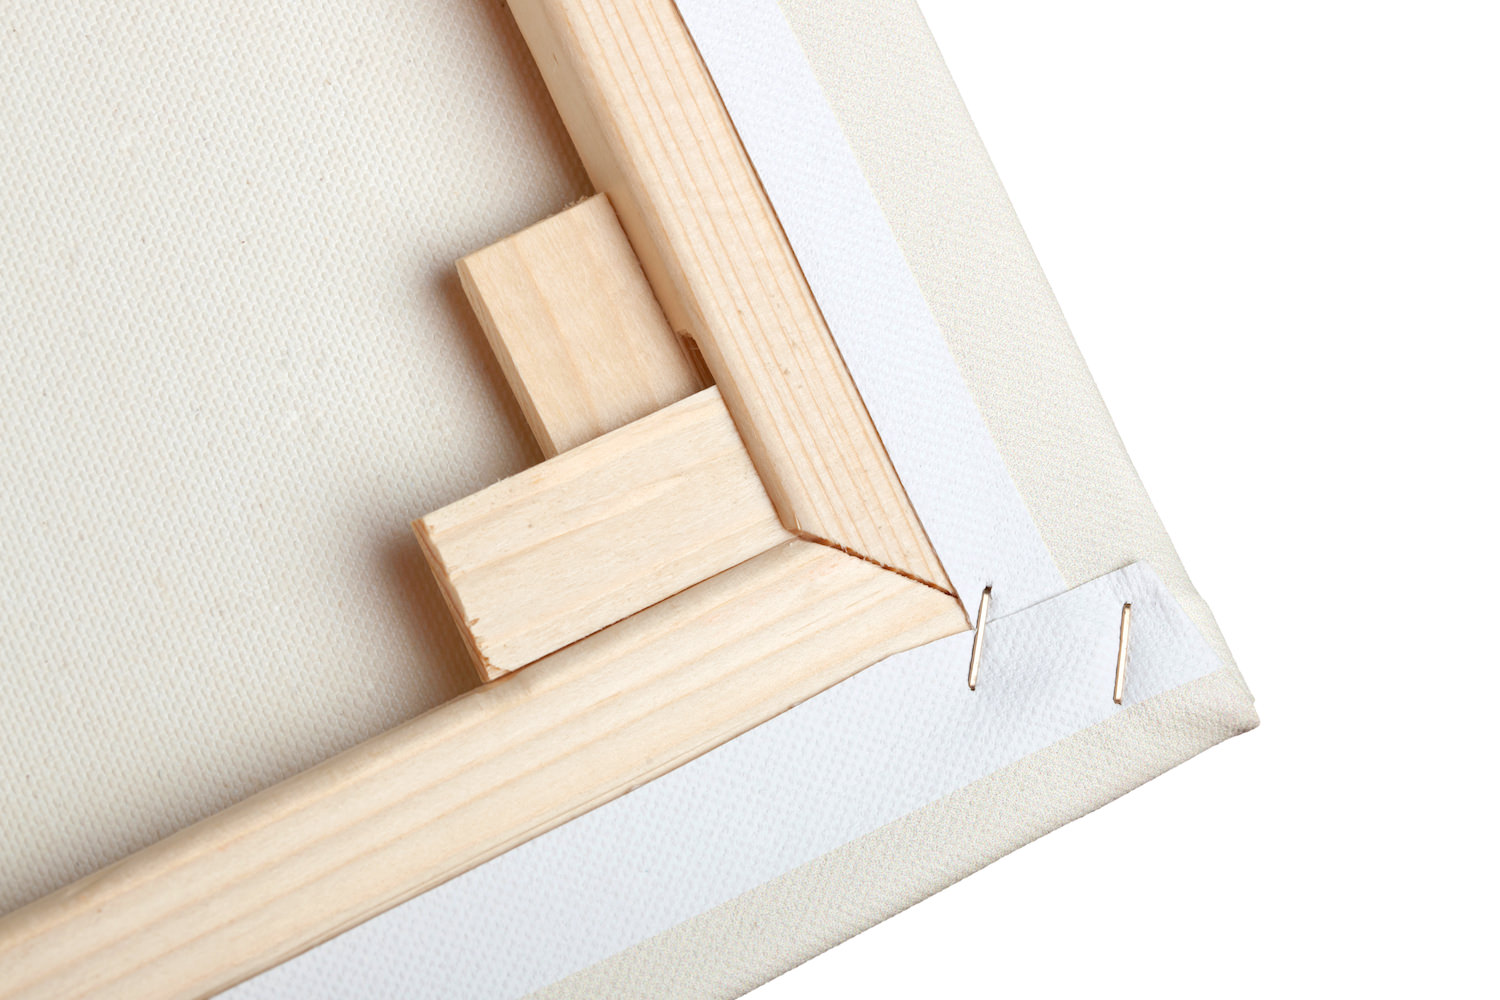
Canvas and Stretcher Bars
The first step is to gather your materials. For canvas, it is best to choose a high-quality, medium-weight material. You will also need stretcher bars, which come in a variety of sizes and shapes. Make sure your stretcher bars are the same size as your canvas or slightly larger.
Tools and Fasteners
To stretch your canvas, you will need some basic tools such as scissors, a staple gun, and a hammer. You will also need fasteners such as staples or tacks. Staples are the easiest to use and create a tighter fitting canvas, while tacks can be used for a looser fitting canvas.
Stretching Your Canvas
Step 1: Lay Out Your Materials
Lay out your canvas and stretcher bars on a flat surface. Make sure that your canvas is facing down on the table and the side you want to paint on is facing up.
Step 2: Assemble Your Stretcher Bars
Assemble your stretcher bars by interlocking the corners. Make sure that the corners are tight and secure by hammering them into place. Once the stretcher bars are assembled, place them over the back of your canvas with the taut edge running down the middle of the canvas.
Step 3: Staple the Sides of the Canvas
Starting in the center of one side, staple the canvas to the stretcher bars. Move to the opposite side of the frame, pulling the canvas tight, and staple it in place again. Repeat this process for the remaining two sides.

Step 4: Stretch and Staple the Corners
Starting at one corner, fold the canvas up and over the stretcher bar, then staple it in place. Repeat this process for the remaining corners, making sure to pull the canvas tightly over the bars and keeping it flush against the inner lip of the stretcher bars. Add additional staples to secure.
Step 5: Cut Off Excess Canvas
Using scissors, trim the excess canvas around the edges, leaving approximately 2-3 inches of excess material. This will allow for easier framing and hanging later on.

Tips and Ideas
Prime Your Canvas
Before starting a painting, it is essential to prime your canvas. This will increase the longevity of your painting and prevent your acrylic or oil paints from sinking into the fibers of the canvas, creating a blotchy appearance. Apply the primer using a brush or roller in a thin layer and let it dry completely before starting your painting.
Use the Right Techniques
When stretching your canvas, it is important to use the right techniques to ensure a high-quality end result. Make sure to pull the canvas tightly over the stretcher bars and staple it securely in place.
Store Your Materials Properly
When not in use, it is important to store your materials properly to prevent damage or warping. Keep your canvas flat and avoid high humidity or temperature changes. Store your stretcher bars disassembled and away from direct sunlight.

Protect Your Painting
After completing your painting, it is essential to protect it from dust, scratches, and other damage. Allow ample time for the paint to dry, then apply a varnish or sealer to seal the paint and protect it from the elements.
Conclusion
Stretching a canvas for painting is an essential skill for any artist to learn. With a little practice, patience, and the right materials, you can create a beautiful and professional-looking canvas that will withstand the test of time. Remember to always prime your canvas, use the right techniques, and store your materials properly to get the most out of your paintings. Happy creating!

View more articles about How To Stretch Canvas Painting